Step 1: Get your tools ready
You’ll need a new 3-pin plug, a cross-head screwdriver and a flat-head one. You can buy any of these from a supermarket or DIY store, or alternatively you can order them online.
If the fuse is blown or the casing of the plug is damaged or unsafe to use, there’s no need to spend a pretty penny on a new appliance. You can repair it yourself quickly and easily - just follow the steps below...
You’ll need a new 3-pin plug, a cross-head screwdriver and a flat-head one. You can buy any of these from a supermarket or DIY store, or alternatively you can order them online.

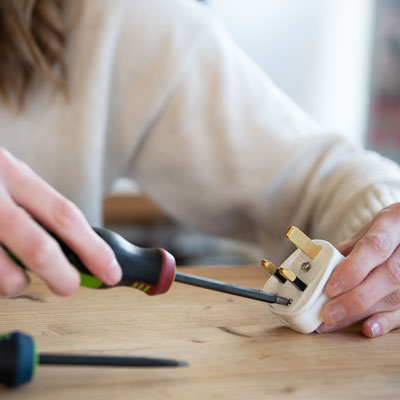
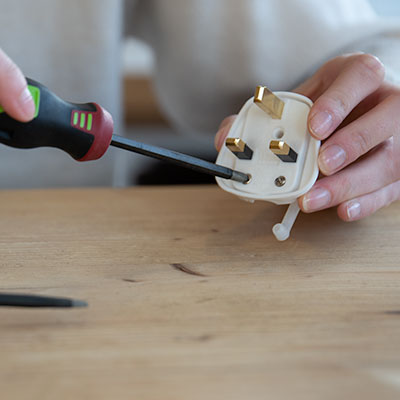
Using the cross-head screwdriver, unscrew the damaged appliance’s plug cover and remove it.
Unscrew and remove the flex clamp (located at the base of the plug).
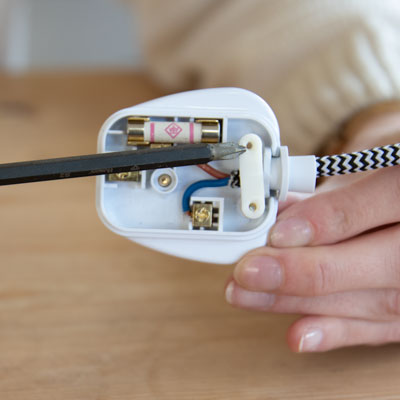
Loosen the terminal screws holding the wires securely in place. There might be three wires (live, neutral and earth) or with double insulated appliances you might have only a live and a neutral wire.
Pull the wires out and make sure they aren’t damaged.
Useful tip: If the plug case is damaged, but the fuse is still intact, be thrifty - you can save the undamaged fuse and reuse it for another appliance. Just make sure the ampage is suitable.
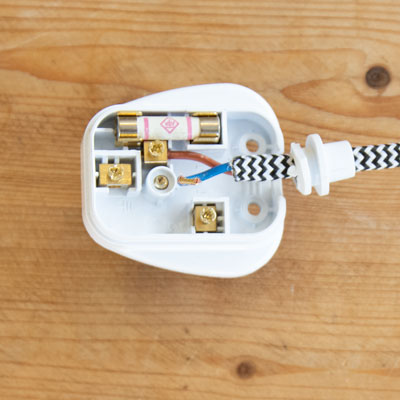
Get the new plug and remove the packaging (including any protective cardboard). Unscrew the cover, remove the flex clamp and loosen the terminal screws as you’ve done in steps 2-4.
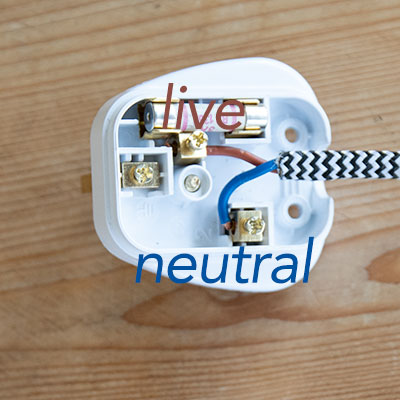
Insert the wires under the new plug’s terminal screws. The brown wire should go into the live screw and the blue one into the neutral one.
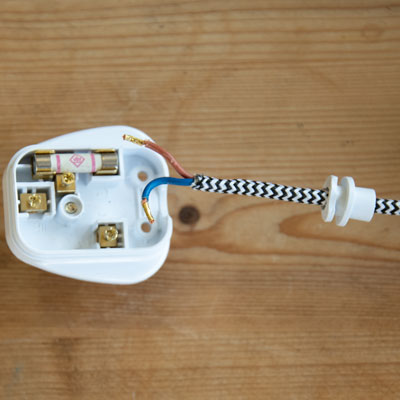
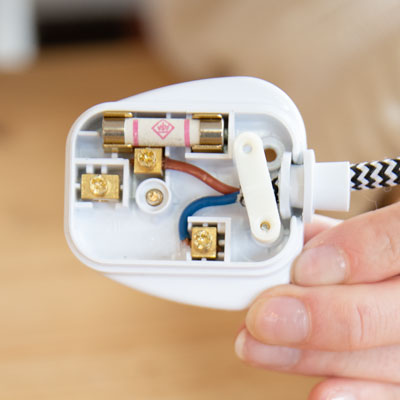
Re-screw the terminal screws, the flex clamp and the plug’s cover.
Plug in your appliance and it should be as good as new!